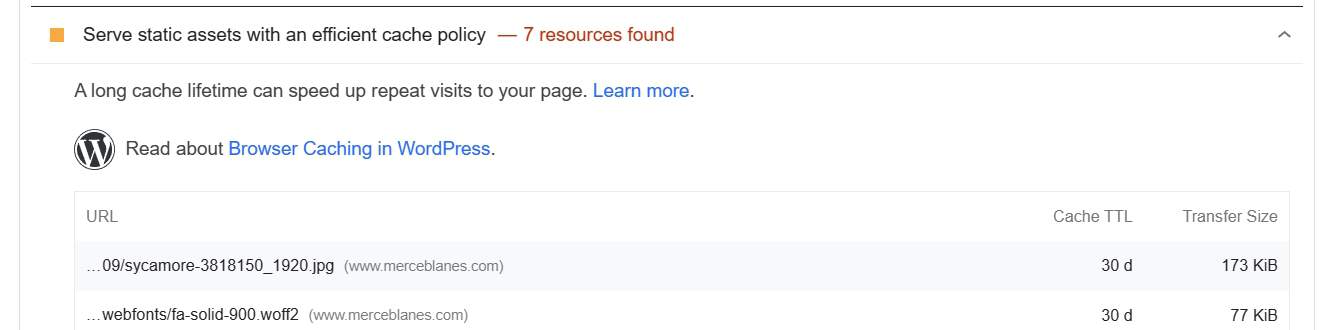
If you are reading this, you have most likely tested your site with PageSpeed Insights or GTmetrix and received a warning telling you to “serve static assets with an efficient cache policy” or to “leverage browser caching“. What is it? And how do you get rid of the warning?
In this article:
What does “Serve static assets with an efficient cache policy” mean?
Every time a user visits a page on a website, the browser needs to download a variety of assets: Images, fonts, CSS files, JS files, video files, etc. The visitor’s browser stores all these resources locally so that it does not have to download them again the next time the same browser visits the same page. This is called browser caching, and it’s fine and logical, it’s how the Internet works.
You, as the website owner, can (and should) control how long your website assets are stored in your visitors’ browsers. Why should you do that? Because you do not want your visitors to have to re-download the assets from your server too many times. That’s bad for them because the page will load slower, and it’s bad for you because your server will have to handle more load and waste bandwidth; the less work your server has to do, the better. For example, why would you deliver the same image file after 1 week when it probably has not changed? It would be better if the browser downloads the file for the second time only after 6 months or a year, which seems to be a reasonable amount of time.
So, “serve static assets with an efficient cache policy” means delivering your website’s assets to your visitors and telling their browser that it can store them locally for a certain period of time, which will not be too short.
How to serve static assets with an efficient cache policy?
That depends on which web server your website is running on. To find out, you can either ask your hosting provider or use an online service like IPLocation.io. Just click on the link and enter your website.
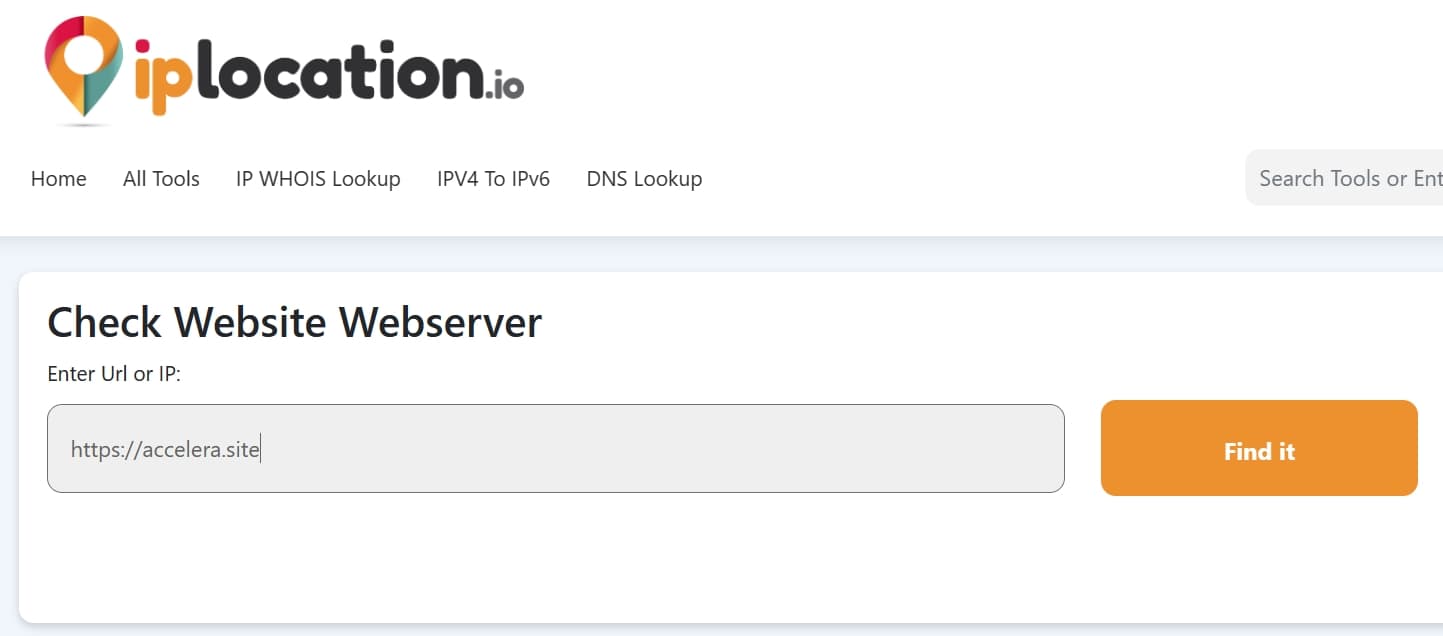
You will find the result on the next screen.
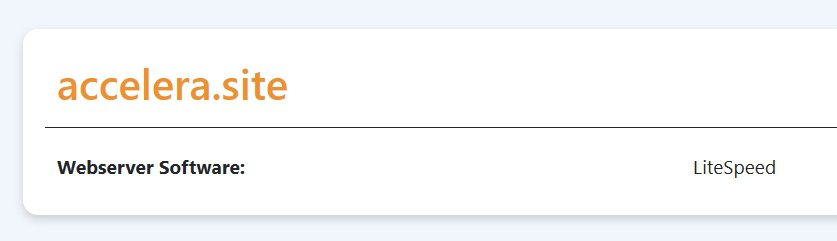
There are many web servers on the market, but the most common ones are NGINX, Apache and LiteSpeed.
Apache
If your web server is Apache, you just need to add a few lines of code to your .htaccess file. And you can do that with a plugin or manually.
Manual method
As performance experts, we recommend you to use this method. The fewer plugins, the better.
1. Use an FTP client like FileZilla or a file manager that you can find in the control panel of your hosting provider to locate your .htaccess file. It should be located in the root directory of your website’s file system, along with the wp-content, wp-admin and wp-includes folders.

2. Edit it with a text editor. This can also be a simple notepad program.
3. Add the following code snippet and save the changes:
#### START Leverage browser caching ####
<IfModule mod_expires.c>
ExpiresActive on
    ExpiresDefault                              "access plus 1 month"
    ExpiresByType text/cache-manifest           "access plus 0 seconds"
    ExpiresByType text/html                     "access plus 0 seconds"
    ExpiresByType text/xml                      "access plus 0 seconds"
    ExpiresByType application/xml               "access plus 0 seconds"
    ExpiresByType application/json              "access plus 0 seconds"
    ExpiresByType application/rss+xml           "access plus 1 hour"
    ExpiresByType application/atom+xml          "access plus 1 hour"
    ExpiresByType image/x-icon                  "access plus 1 week"
    ExpiresByType image/gif                     "access plus 4 months"
    ExpiresByType image/png                     "access plus 4 months"
    ExpiresByType image/jpeg                    "access plus 4 months"
    ExpiresByType image/webp                    "access plus 4 months"
    ExpiresByType video/ogg                     "access plus 4 months"
    ExpiresByType audio/ogg                     "access plus 4 months"
    ExpiresByType video/mp4                     "access plus 4 months"
    ExpiresByType video/webm                    "access plus 4 months"
    ExpiresByType image/avif                    "access plus 4 months"
    ExpiresByType image/avif-sequence           "access plus 4 months"
    ExpiresByType text/x-component              "access plus 1 month"
    ExpiresByType font/ttf                      "access plus 4 months"
    ExpiresByType font/otf                      "access plus 4 months"
    ExpiresByType font/woff                     "access plus 4 months"
    ExpiresByType font/woff2                    "access plus 4 months"
    ExpiresByType image/svg+xml                 "access plus 4 months"
    ExpiresByType application/vnd.ms-fontobject "access plus 1 month"
    ExpiresByType text/css                      "access plus 1 year"
    ExpiresByType application/javascript        "access plus 1 year"
</IfModule>
#### END Leverage browser caching ####
Plugin method
If you are using WP Rocket as your page caching plugin (the best one together with WP Super Cache, even though this one does not allow you to set browser cache), we recommend that you enable the appropriate options to set browser caching rules in the .htaccess file. By the way, if you are using any other caching plugin, we strongly recommend you to switch to WP Super Cache or WP Rocket.
WP Rocket does not have a special setting to enable this, as it will do it for you automatically once you install and activate it.
If, for whatever reason, you are not using a page caching plugin, or if you are using WP Super Cache, you just need to install and activate the Leverage Browser Caching plugin. Do not look for a settings page, because it has none.
NGINX
The NGINX web server is more performant than Apache, but it does not provide the ability to add custom configurations on-the-fly like Apache and its .htaccess file. Moreover, hosting providers usually do not grant you access to NGINX configuration files. So, the first step is to ask your hosting provider if they can implement browser caching for you.
If you have access to the NGINX configuration files, either because you have full access to your server (you actually manage it) or because your hosting provider allows you to, follow these steps.
Important! We assume that a default installation of NGINX has taken place, where the configuration files are in the default locations. If you cannot find the correct paths or files, please contact your hosting provider.
1) Edit the default NGINX configuration file using your favorite text editor. On Linux, it is located in /etc/nginx/sites-available/default.
2) Locate the server configuration block that looks like this:
. . .
# Default server configuration
#

server {
    listen 80 default_server;
    listen [::]:80 default_server;

. . .
3) Insert the following code snippets before and inside the server block:
...
# Default server configuration
#

# Expires map
map $sent_http_content_type $expires {
    default                    off;
    text/html                  epoch;
    text/css                   max;
    application/javascript     max;
    ~image/                    max;
}

server {
        listen 80 default_server;
        listen [::]:80 default_server;

        expires $expires;
...
The first code block defines the duration of the cache for different file types in this way:
offmeans that no caching rules are added to the resource. It effectively turns off the NGINX cache headers and therefore does not modify other cache headers coming from an upstream server, for example.epochsets the cache expiration date to Thu, 01 Jan 1970 00:00:01 GMT. This forces cache invalidation so that the resource is always downloaded from the source.- max sets the cache expiration date to 10 years in the future. This is what we want for files that are unlikely to change.
- You can also specify a specific amount of time, such as
1h(1 hour),4d(4 days),5m(5 months), or3y(3 years).
The second block of code sets the cache expiration time by referring to the first block.
4) Now restart NGINX. If you have access to a Linux terminal, you can probably run this command:
sudo systemctl restart nginxLiteSpeed
The easiest way to set up browser caching is to use the LiteSpeed Cache plugin. It is the only cache plugin you should use if your web server is LiteSpeed.
1) Install LiteSpeed Cache.
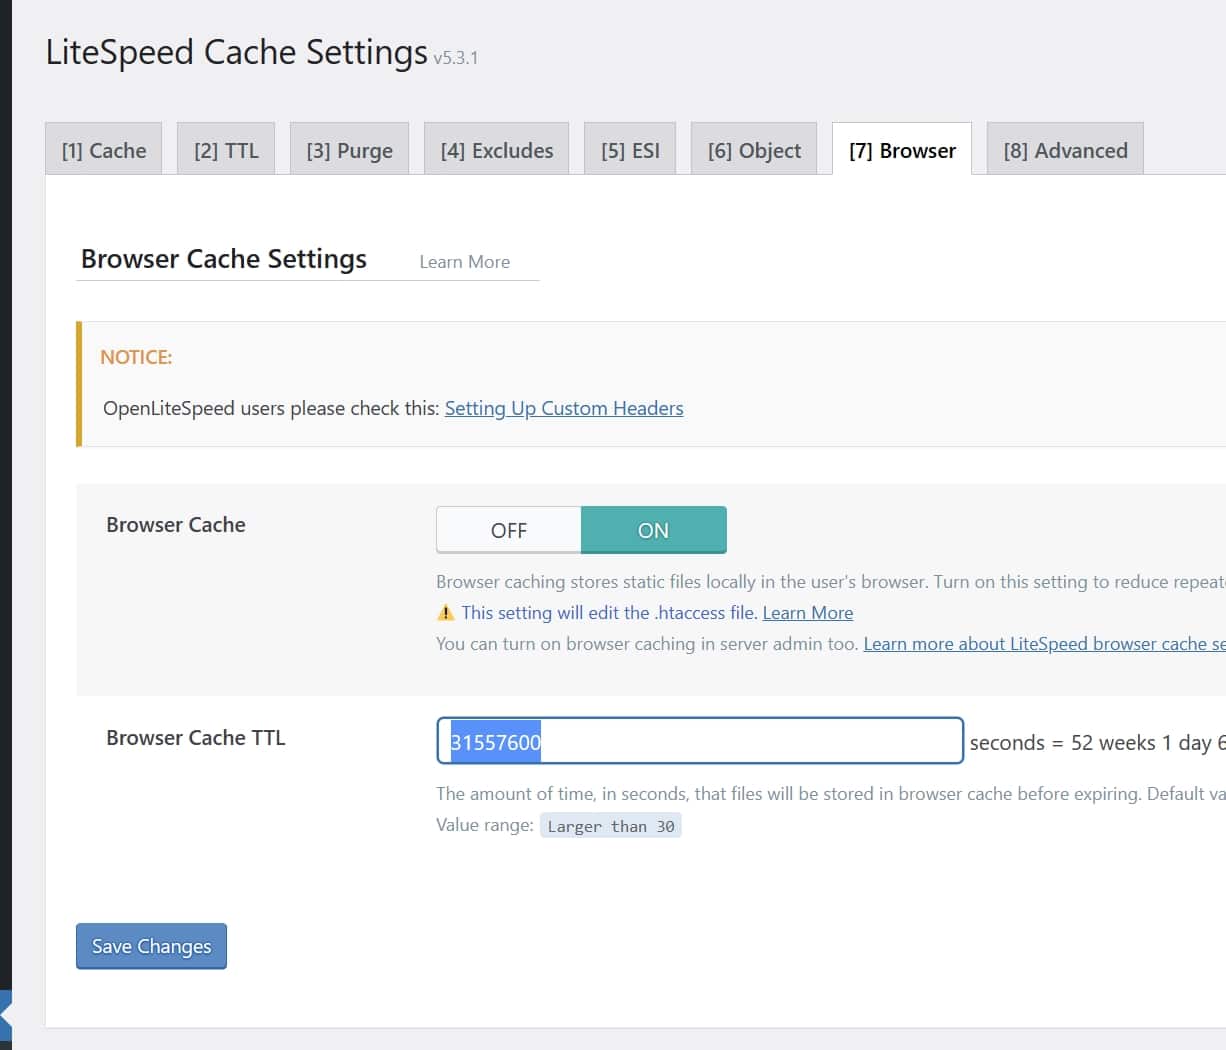
2) In your WordPress dashboard, go to LiteSpeed Cache > Cache > Browser.
3) Enable the Browser Cache option.
4) Set the Browser Cache TTL to about 6 months (15778800) or 1 year (31557600).
4) If you are using OpenLiteSpeed, you must follow these additional instructions.
A note about CDNs
Sometimes your CDN overrides everything you do on your server, because a CDN sits in the middle, between your server and the client. Of course, that’s only relevant if you’re using a CDN. If not, simply ignore these lines.
On Cloudflare, for example, you can find these settings at Caching > Configuration > Browser Cache TTL:

In this particular case, you should select Respect Existing Headers so that Cloudflare respects what you’re doing on your server.
What’s the minimum time I have to set the browser caching to?
There is no recommended value, as every website is a different world. Some websites are updated very frequently, while others are not, so their resources do not change that much.
Having said that, you are probably interested in knowing the values that Google is happy with. There are no official values, but we have noticed that PageSpeed Insights stops complaining from 4 months (10368000 seconds).
How can I verify the cache policy?
If you want to verify that the changes you made worked, you can do so using your favorite browser’s developer tools, but for this particular purpose we find it easier to just run a single command: curl
Important! Clear your website cache after making any changes to the browser caching policy!
1) Open a terminal. You will find it as a regular application.
2) Retrieve any URL from your website. An image, a CSS file, a JS file… Of course, it must be a URL that you have changed in terms of cache policy. Let us take this as an example: https://accelerawp.com/wp-content/uploads/2022/07/Accelera_Color_Positive.png
3) In the terminal, type curl -I and the URL. Example:
curl -I https://accelerawp.com/wp-content/uploads/2022/07/Accelera_Color_Positive.png4) See the result:
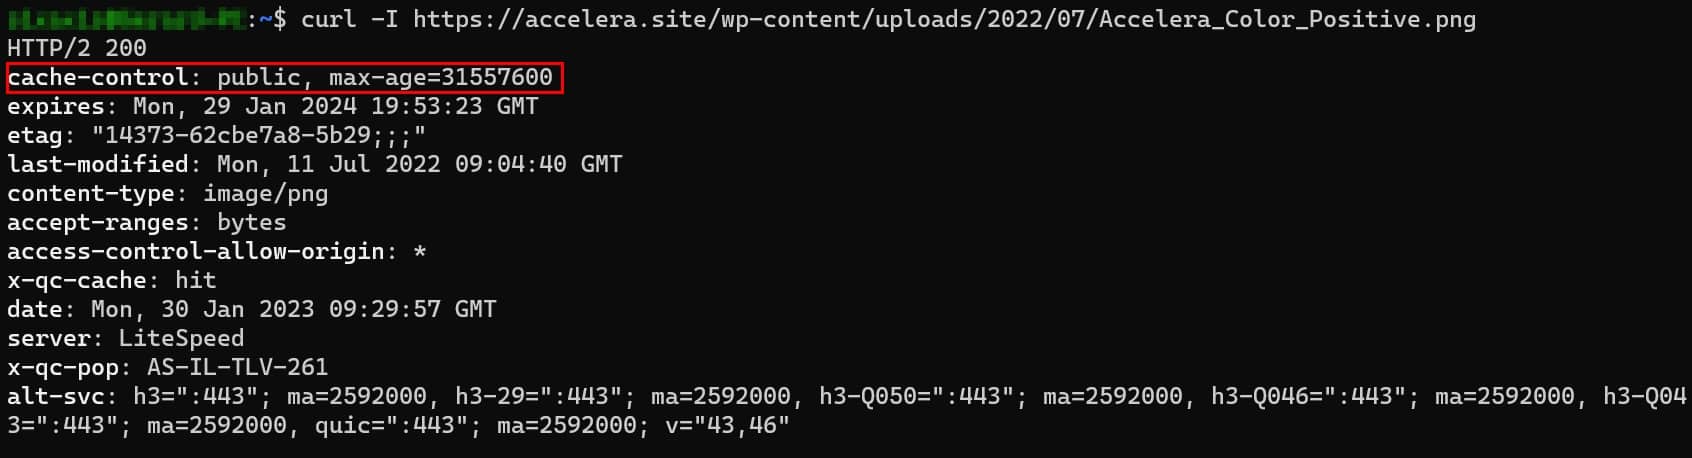
5) The cache-control header should contain the changes you made in seconds as max-age=XXXXX.